Hey developers, today we will look into one aspect of AlmoFire, that is to make a GET method to grab data from the Spotify API and parse the response with Swift 3. In this tutorial to make it bit cleaner we’re just going to be grabbing the titles coming from Spotify. If you want to learn how to do the whole song you actually need to use the iOS SDK provided by Spotify and that allows people to log in and etc., today our main focus is how to use AlamoFire. so this is what we’re going to be learning either way. let’s, go ahead and create a new project in Xcode.
1) first thing we need to do to get started is, open up Xcode
2) Then create a new Xcode project and this is going to be a single View application.
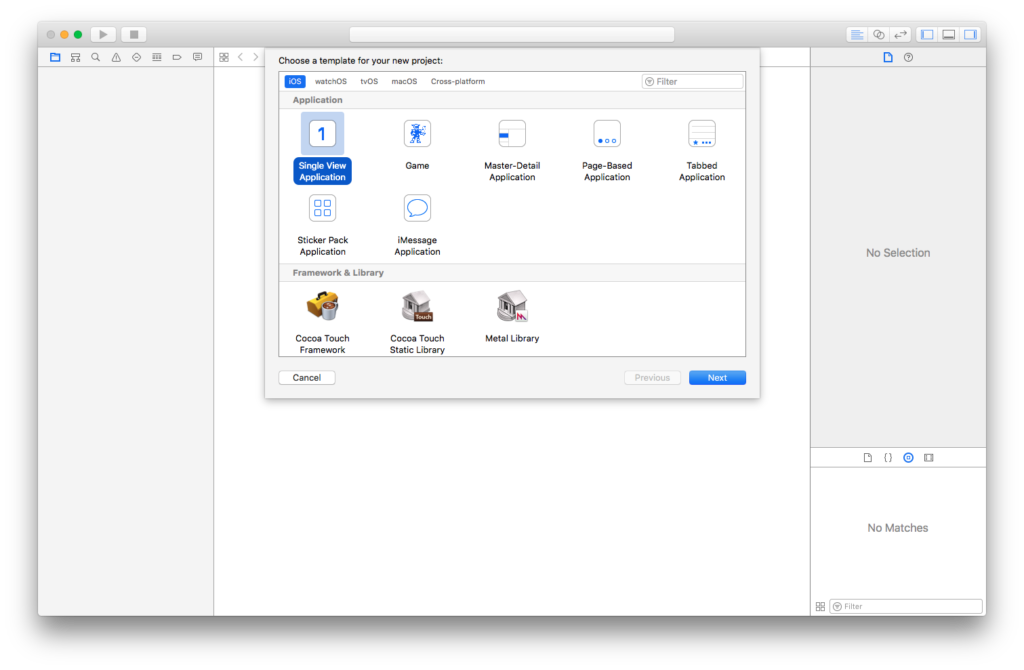
3) Name it whatever you want and then set language Swift and devices Universal then click Next.
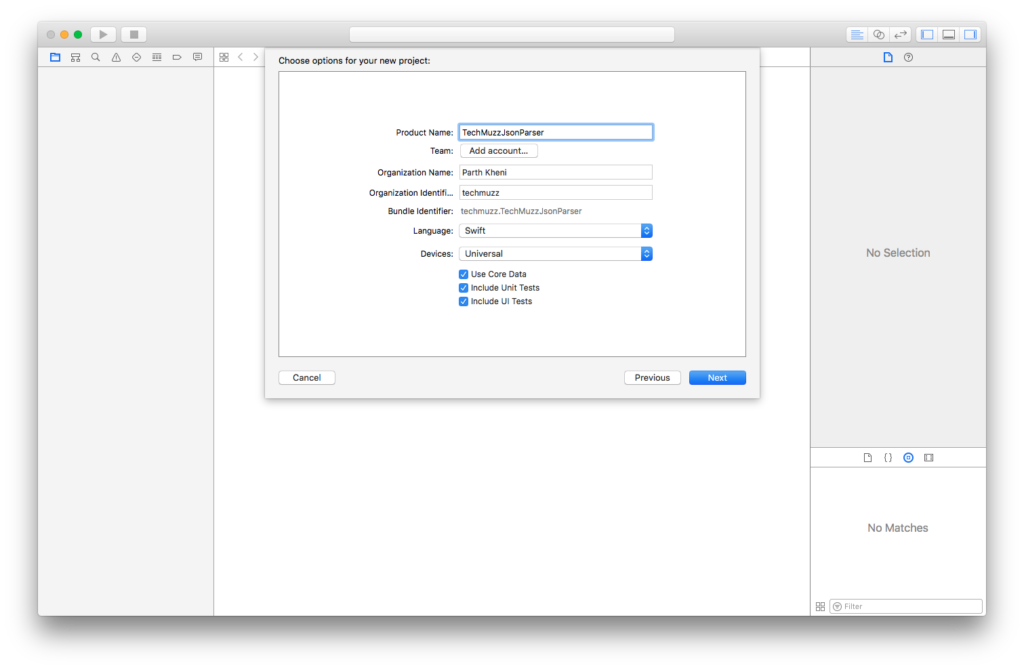
4) So we should a new project to work on.
One thing that you need to keep in mind is with this new AlamoFire in order to get the latest version that actually works with Swift 3 you need to update to the latest Xcode and also to update to the latest Xcode and get everything working properly with Ruby. You also need to update to the latest OSX at least that’s what I had to do and also where you’re going to be using Cocoapods to implement AlamoFire into our project. So you want to make sure you have the latest version of Cocoapods. You can skip next few steps if you already know and installed latest Cocoapods in your system.
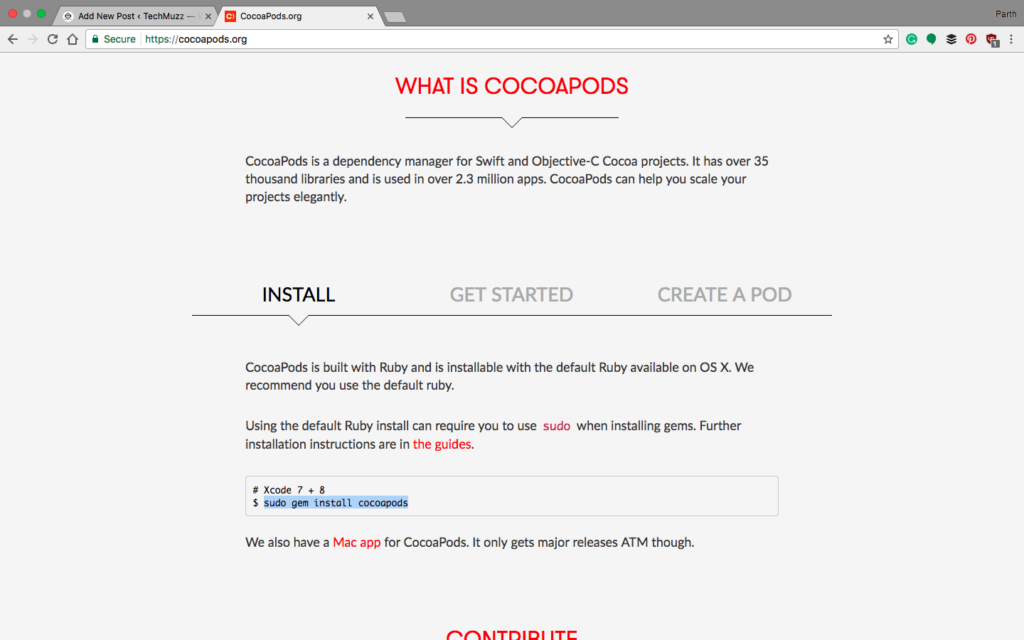
1) Open up browser and head over to cocoapods.org
2) Copy code that will let you install pods on your system like this.
4) Paste it into your terminal and hit enter.
5) Enter your password and it would install Cocoapods.
Note: If it gives you output like below and you have El Captain as your Mac OS then you should follow our article that will guide you to install Cocoapods in the new Mac OS.
So let’s install Cocoapods into our project that we just built by following below steps
1) Navigate into the Terminal app to your project directory
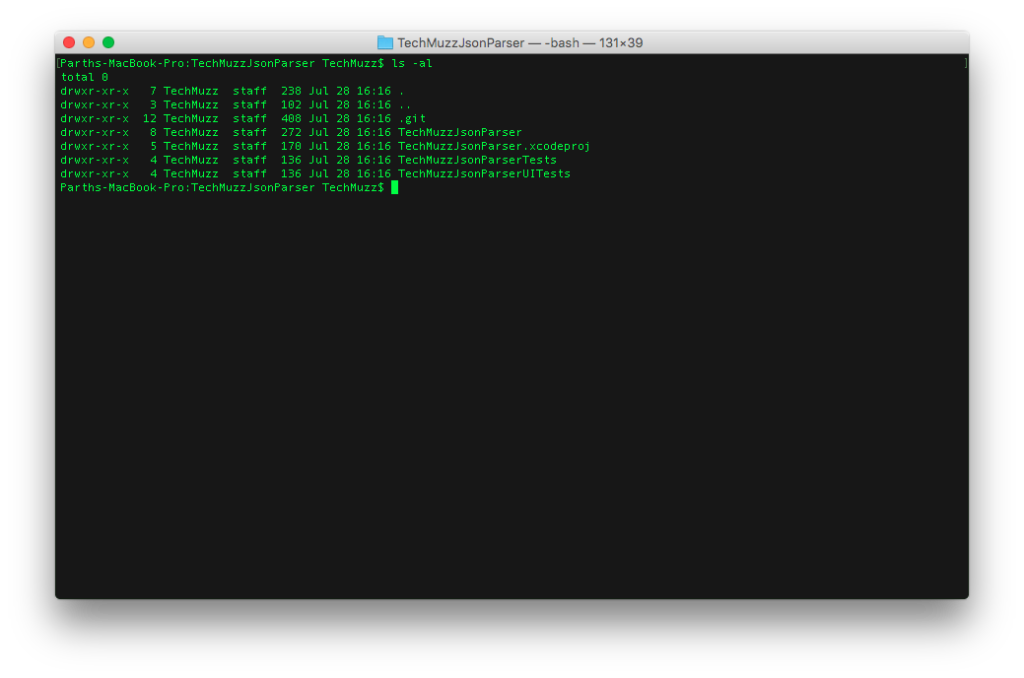
2) Try below command for just to check pods version in your system
pod –version
Note: Your pod version should be at least 1.0.0 to work with AlamoFire.
3) Execute below
pod init
4) It will put a pod file in your project so that you can add AlamoFire pods. Open the Podfile into text editor or your Xcode editor.
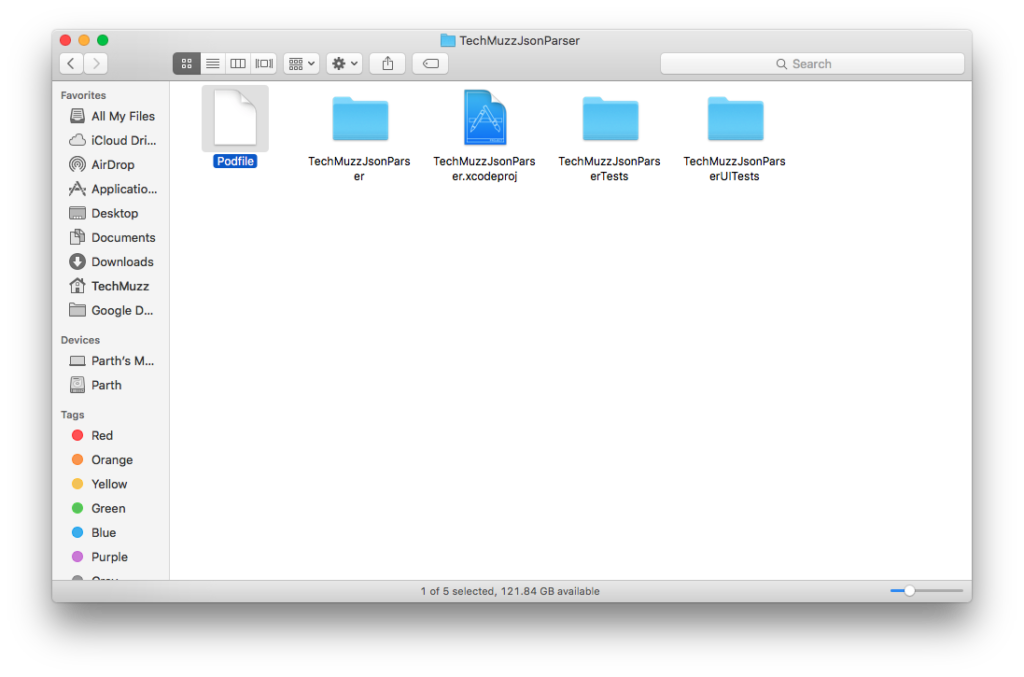
5) Update the Podfile like below
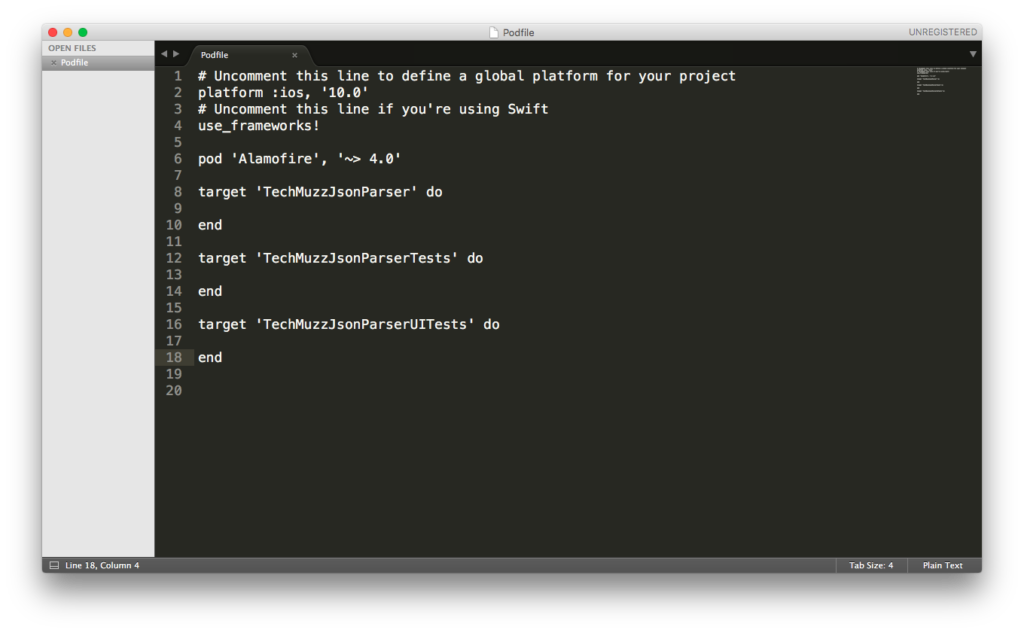
Note: Plase make sure that platform is set as iso and version is 10.0 because otherwise, you would get the wrong AlamoFire version will be downloaded into your project like it would download AlamoFire 3.4 instead of 4.0 which is the Swift 3 version so just keep that in there.
6) Save the file and execute below command in your Terminal
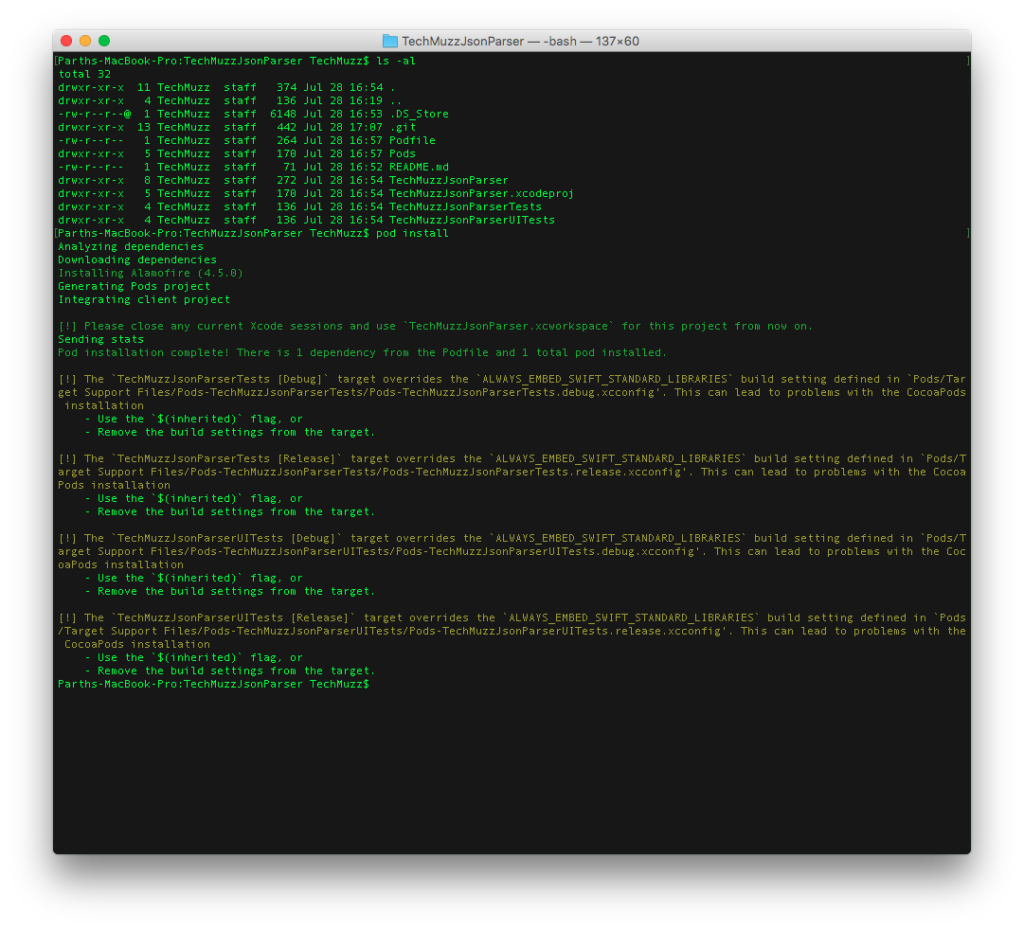
It will install AlamoFire into your Xcode project so that you can use and as you can see the pod installation was complete so one thing you need to do is just go ahead and close up your Xcode project and as you can see inside of your folder right here you actually have YOURAPP.xcworkspace. So you want to make sure that when you work with this project now you are working with the Xcode workspace from now on.
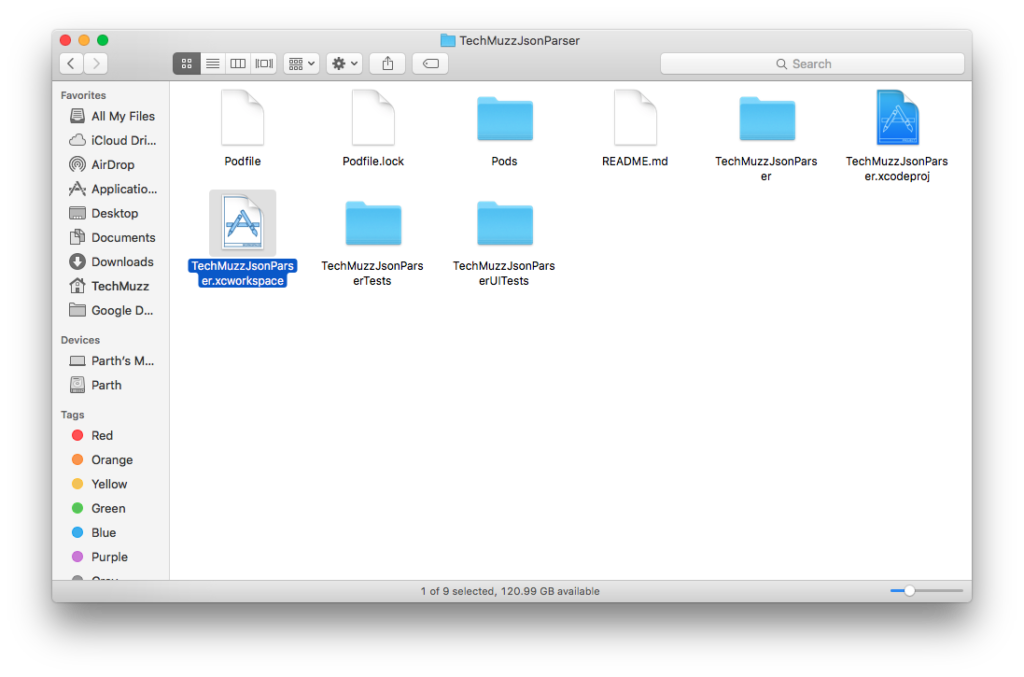
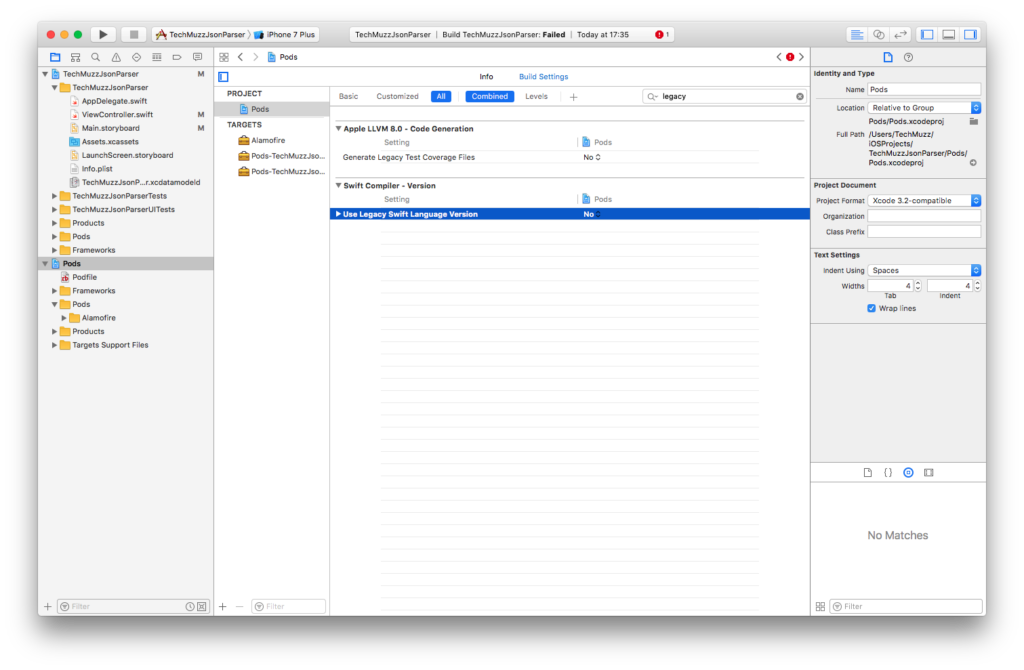
So here’s a project with AlamoFire installed inside of our pods as you can see we have our Alamo fired up the framework. So this is where all your files are stored. You might get one error like legacy version of swift once your app finishes indexing itself. To fix just click on the Pods in the left menu then again Pods under Project, select Build Settings and then search for Legacy. Set the Use Legacy Swift Language Version as No as shown in the below image.
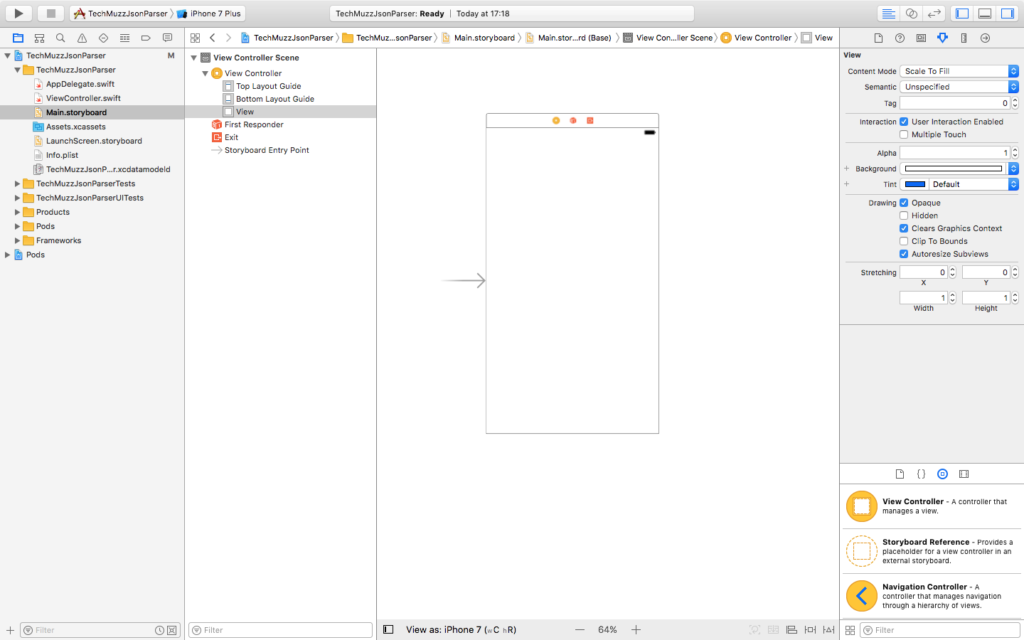
Now open Main Storyboard and delete the default view controller as don’t need it anymore.
Now add one Table view controller into the storyboard that we will fill with the data that we parse from the JSON response by AlamoFire.
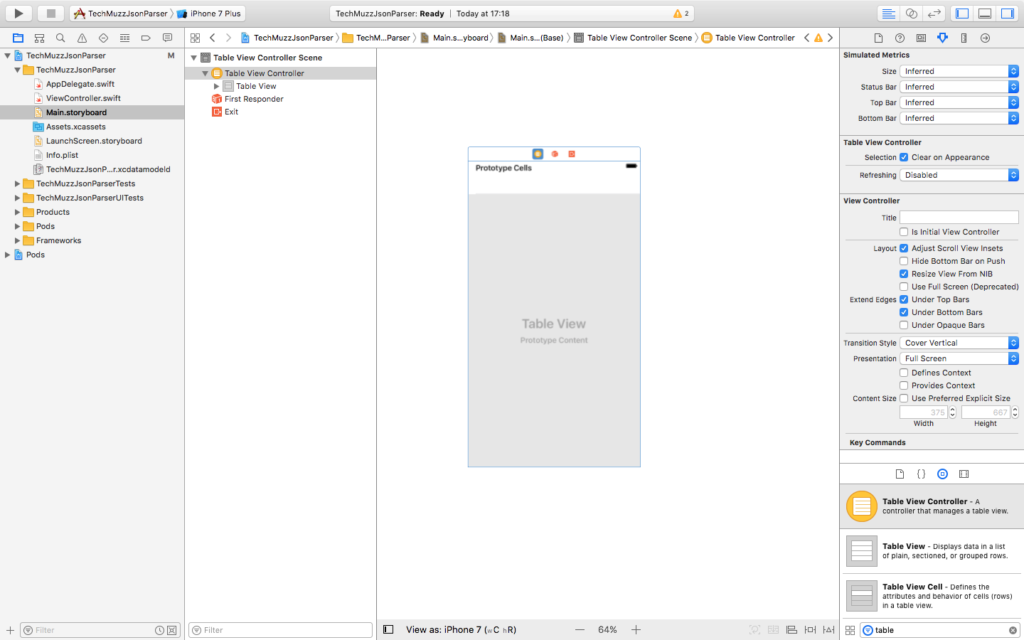
Note: After this go to attributes inspector and set it is as Initial View Controller that way we don’t get a black screen when we build and run our application and this is the first view that loads.
So Now as our storyboard is good to go, we need to update our view controller with respect to storyboard changes.
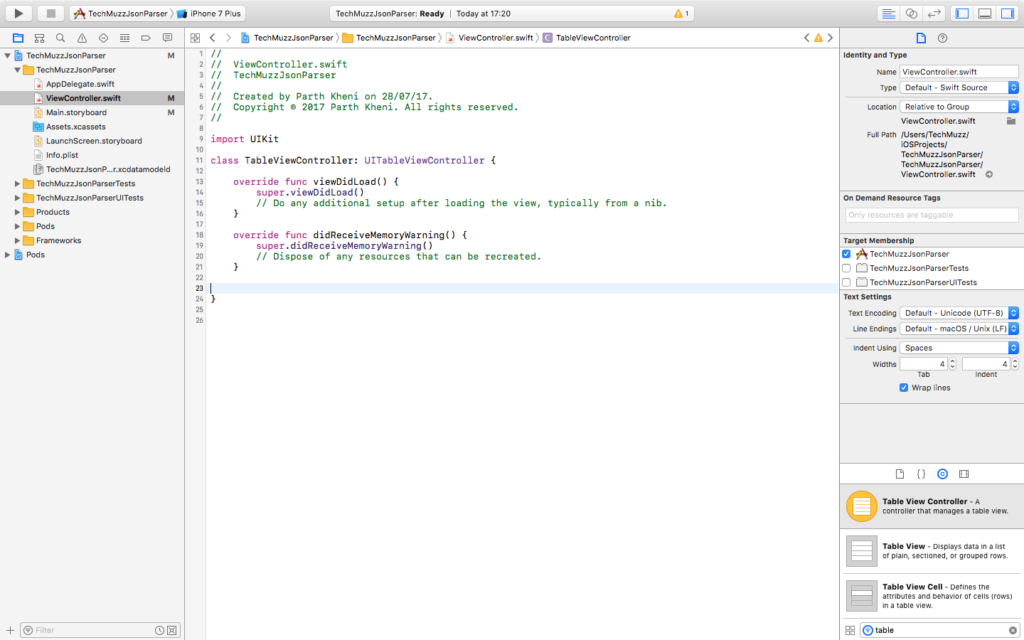
We need to update the View controller attribute in the Storyboard to target to the updated class to work well as shown in the below image.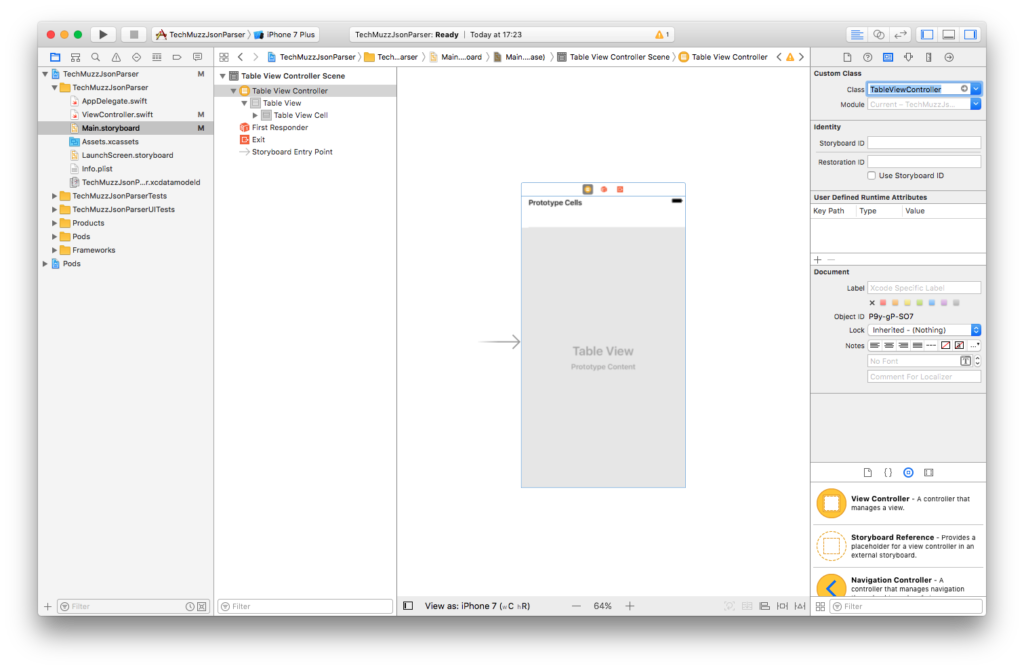
Let’s go back and modify view controller as we need to show track names in the table view after making AlamoFire GET request. After that, we will parse the output and show it in the table cells. We have already created a Git repo – TechMuzzJsonParser at below location if you want to copy the whole class at once but If you need the explanation about the function that we have implemented then read below.
FUNCTION: callAlamo()
This function will make an AlamoFire GET request to fetch JSON data so essentially this is going to be a function that grabs the data from the URL that we provide. As this is a function we can call it from anywhere or on any action like a button press, view load, etc. In the viewDidLoad() function we can call this function and pass the searchURL variable that assigned a Spotify search URL like
https://api.spotify.com/v1/search?q=Imagine+Dragons&type=track”
As we have decided to use Spotify to fetch data. Let go ahead and get the required search URL from the API. For that, you need to navigate to developer.spotify.com in your browser. Find the Tools in the top menu and then navigate to API Console. Spotify’s web API would allow us to fetch data from various endpoints that are listed as left column in the page.
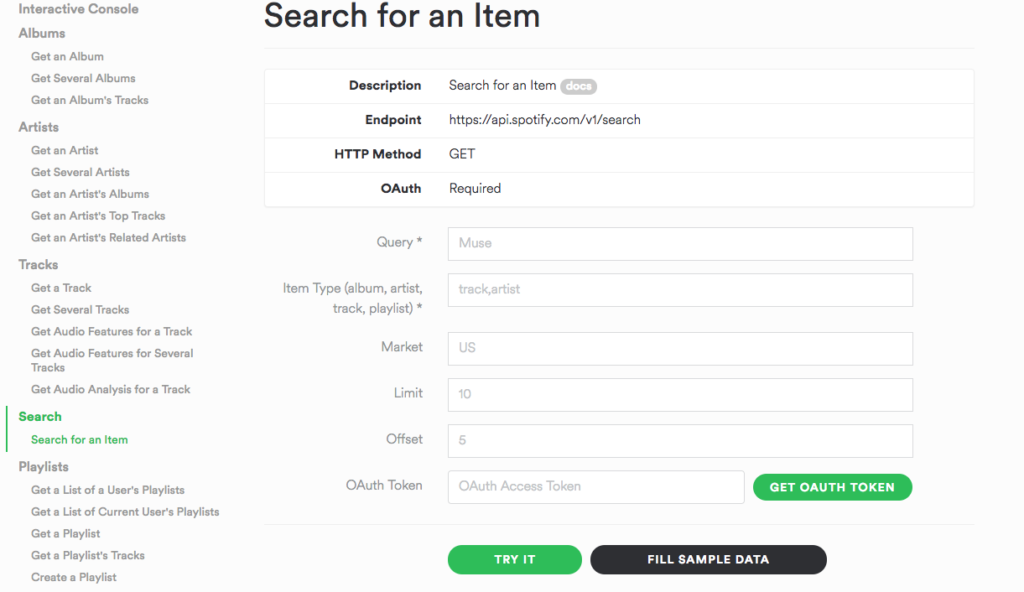
To create the search URL for our app we need to feel the input field on the page which will generate a URL which is located below the form. The input filed tags are self-explanatory like Query field will have the artist that you want to search for like “Imagine Dragons”, second field is to dictate what you are looking for means what type of data about artist you required it has some suggestion in the tag too, you can add single or several types separated by commas, then next is Market to let you select which country you want to search for, next one is very simple, Limit how many records per request then last is offset which allows you to skip the desired records for the following request so you won’t get duplicated data into your app.
You will require an OAuth token to make any request to Spotify API, so just click the GET OAUTH TOKEN button and follow the instruction on the page, after that, it will fill the field with the token. Don’t share the token with anyone as somebody can misuse it in some manners. After that copy the link from the black box below the button and paste it in the view controller with the token as we have done in the GIT repo.
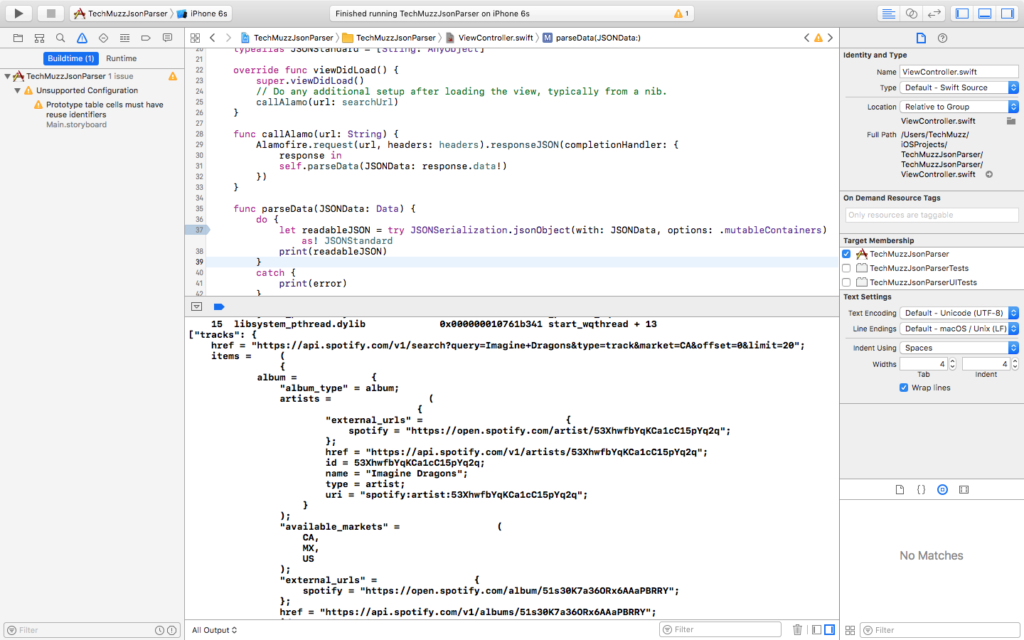
FUNCTION: parseData()
It is a very important function of our app as it would parse the JSON response from Spotify web API. As you can see I have implemented try-catch block to serialize JSON parsing process. I have used .mutableContainer in jsonObject method because our JSON response could be different for each request we make and the container should be mutable according to different data structures that we get as a response. One thing you will find different is that I am casting the result to JSONStandard which is a type alias defined at the very beginning of the class.
typealias JSONStandard = [String: AnyObject]
Note: The purpose of the type alias is to cast the result from one type to another.
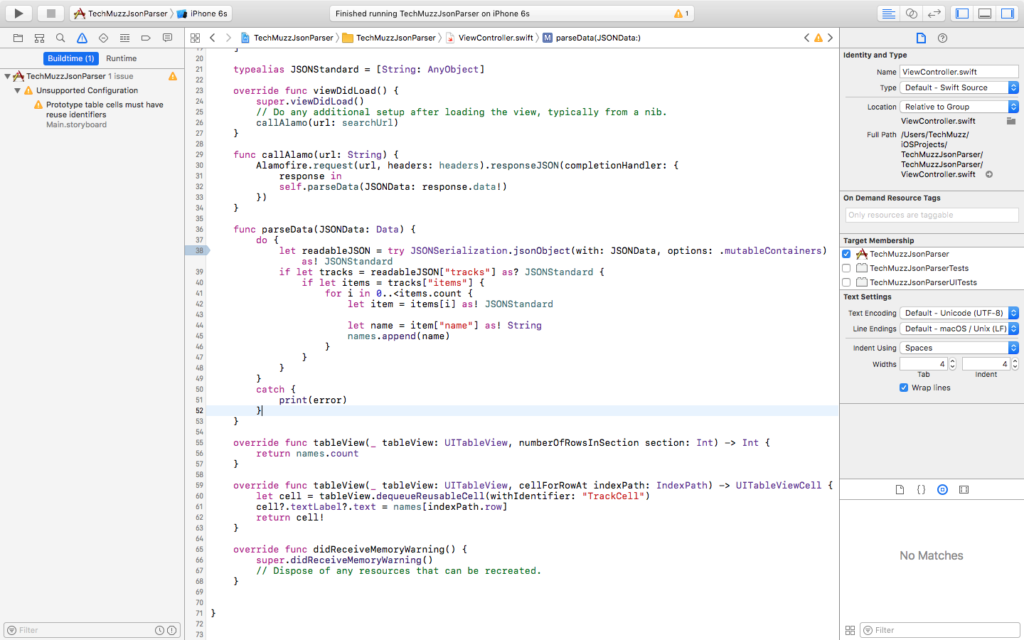
After the serialization process let just fetch tracks from JSON output. Under that condition, let’s iterate through each item (a record) and fetch the name from the object. If we get a name from the record then append it to the names array so that we can use the array to fill the table view.
At last implement the required table view methods like numberOfRowsInSection and cellForRowAt as we have implemented in the code. Don’t forget to set the reusable cell identifier in Storyboard that you set in the code. If you don’t know what it then checks the cellForRowAt method where I have set the cell identifier as TrackCell
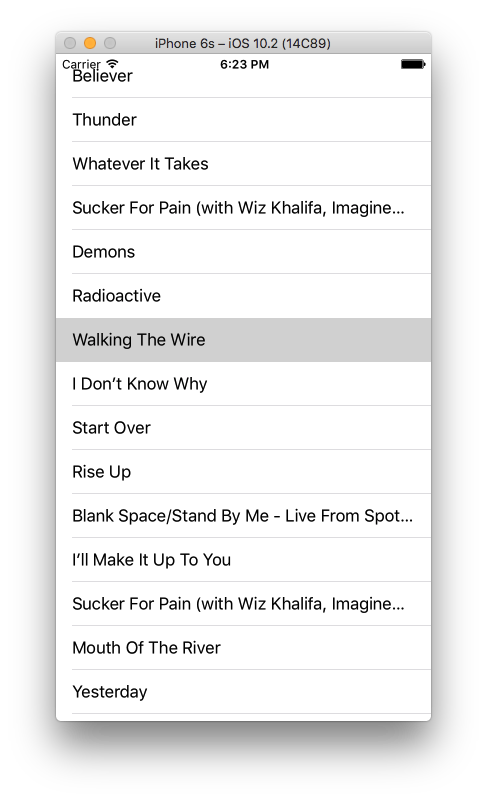
As a result of all these code and storyboard implement your app would look like below. It would a proper tableview with cell tags as artist’s tracks/records/etc names. If you have any question or query then feel free to ask in the comment section below, we would be glad to help you.
Thank you and Stay Techie…